Rubber tile installation instructions
Necessary conditions
Laying the rubber tiles outdoors requires that the surface be flat, dry and uniform.
In the case of dirt floor, the existing dirt must be removed to a depth of at least 300mm plus the thickness of the tiles to be installed.
If there is no edge casing around the area where the rubber tiles will be placed, you can use the rubber granules from Retire ABEE to create rubber edges to demarcate the area.
In case the rubber tiles are installed indoors, all types of flooring are suitable for their installation.
Placement process
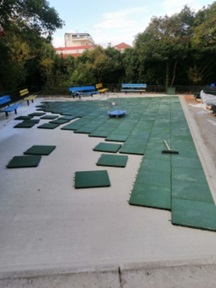
Ξεκινήστε να τοποθετείτε τα πλακάκια οριζόντια

κατά μήκος της πρώτης γραμμής.
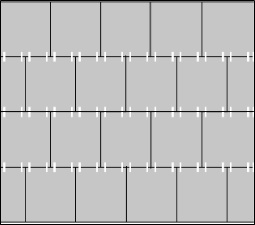
In the second row start with half a tile (cut in half) and every second row continue with half a tile.
The connection of the tiles is done with plastic dowels which enter the holes that the tiles have on the side.
Installing the dowels is easy by just using a hammer to get them into the holes.
 Alternatively, you can join the tiles with polyurethane glue.
By laying the tiles as shown above (like masonry), you ensure excellent stability without gaps.
Cutting the tiles is easy using just a jigsaw.
You can cut the tiles in any shape in order to cover even the most demanding corners.

For interior spaces, you can use polyurethane glue to cover baseboards as well.
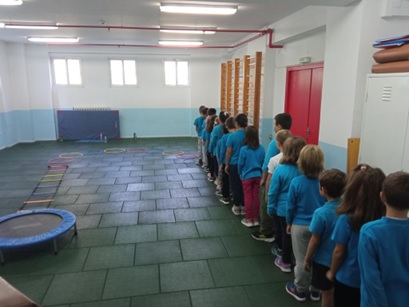
Your space is ready for sports and games!

